
Many individuals neglect getting ready for winter until the temperature abruptly drops. Whether you’re trying to keep plants, tools, vehicles, or outdoor buildings safe from the cold, an insulated cover can help a lot to keep things from getting damaged. Using a Tarpaulin is among the most economical and effective ways to build such defense. Learning to make insulated tarpaulin covers for winter protection is inexpensive, easy, and lets you manage the thickness and size required for your particular circumstances.
Understanding the Need for Insulated Covers
Warm air is trapped by insulation, which also slows down the movement of cold temperatures. In winter, when frost, ice, and cold gusts can do significant damage, this is especially important. Plants could die, equipment could break, water tanks could freeze, and outdoor furniture could decay. Designing an insulated tarpaulin cover offers you a versatile barrier effective in a range of surroundings. Combining materials that aid in heat retention with the waterproof power of a Heavy Weight Tarpaulin produces a dependable winter shield by the concept
Choosing the Right Tarpaulin for the Job
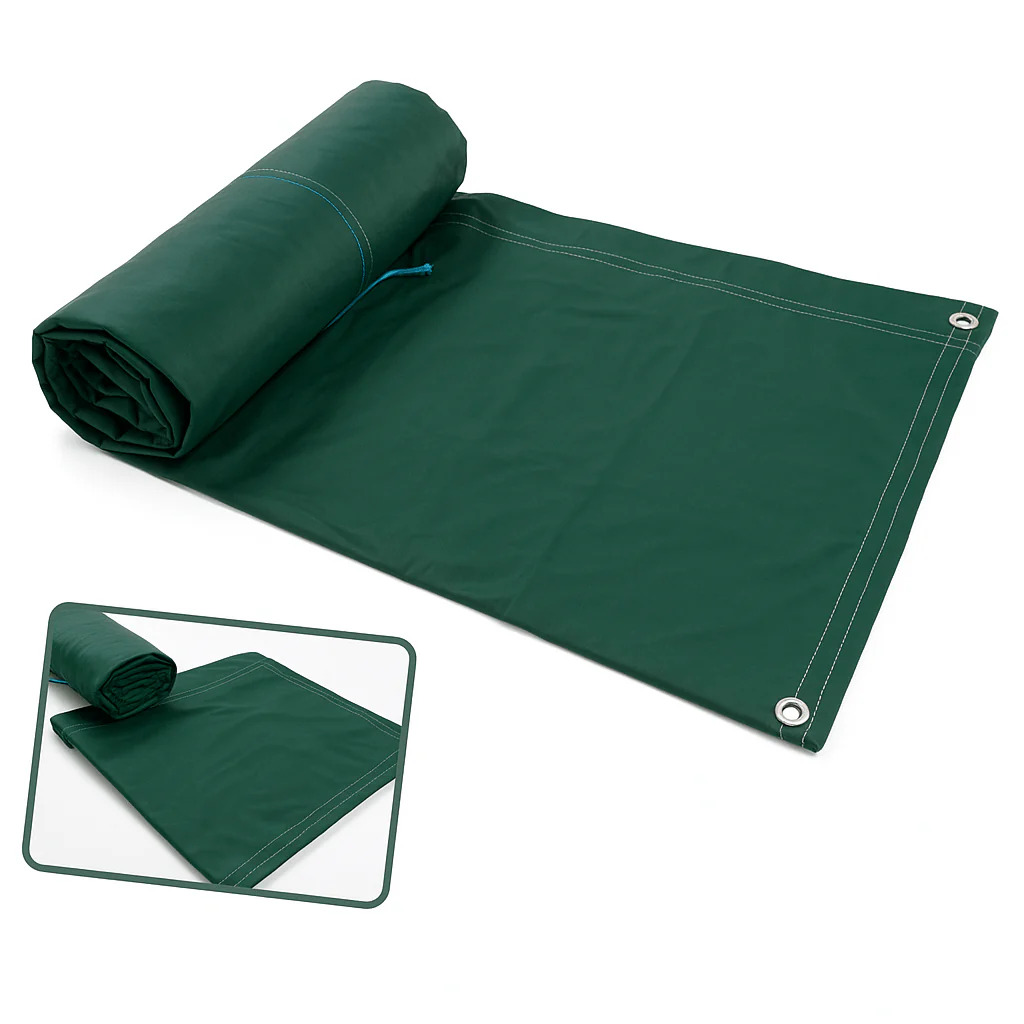
Choosing the appropriate tarpaulin is the first and most crucial stage in the whole procedure. Winter conditions call for something stronger than a light or medium-grade sheet since not all tarps are created equally. The Heavy Weight Tarpaulin is most effective because it can withstand repeated moisture exposure, strong winds, and snow pressure without tearing. Perfect for long-term outdoor use, these tarpaulins are often denser, covered in waterproof substance, and UV-resistant. Select a tarp big enough to completely wrap or cover the item you aim to shield.
Preparing the Insulation Materials
Just the tarpaulin won’t produce an insulated cover. You need something that will keep warm air in. There are several kinds of insulation that work well with tarps. People like bubble wrap because it’s light, flexible, and keeps heat in really well. Effective as well are thermal liners, foam sheets, and discarded blankets. The aim is to create one or several layers able to protect the object from the outside cold air. Select insulation material matching your level of desired protection as well as your budget.
Maintaining Your Insulated Tarpaulin Cover
Unpredictable conditions can occur in winter, hence even the most robust materials require frequent inspection. Check your insulated cover every few weeks for moisture accumulation, carefully clear it to prevent needless weight. Usually easy to maintain, the Heavy Weight Tarpaulin is cold-resistant and waterproof. Minor repairs to your cover using patches or tape will greatly prolong its life.
Measuring the Object for Accurate Fit
Measure the thing you wish to preserve first, before cutting or mixing materials. Precise measurements whether for a greenhouse, a stack of firewood, a water tank, or a vehicle will assist avoid gaps that let frigid air in. List the length, breadth, and height. Give each dimension a bit more so there is room for folding and correcting. One that fits snugly and is insulated will last longer and function better than one that is either too little or too loose.
Securing the Insulation to the Tarpaulin
Lay the Heavy Weight Tarpaulin flat on a clean surface after you have your tarp and insulation ready. Put your insulation material over the tarp. Spread it uniformly and check for any gaps. If you are using foam sheets or bubble wrap, you can tape the edges together to prevent them from sliding around. Once the insulation is in place, fold the tarp over it to provide a pocket of warmth within. If you want the most protection, you can also sandwich the insulation between two tarpaulins. To keep everything firmly in place, either use strong waterproof tape, adhesive spray, or stitching with thick thread.
Creating Strong Edges and Corners
Any cover’s weakest portions are its edges and corners as they undergo movement and pressure. Reinforce the edges of the tarpaulin with additional layers of fabric or tape to help the cover survive. If your tarpaulin has grommets, ensure they are still accessible after insulating it. These grommets let you tie down the cover and keep it from flying away. A strong, strengthened edge will enable the insulated cover to remain in place even in the face of fierce cold winds.
Fitting the Insulated Cover Properly
Once your insulated tarpaulin cover is ready, gently drape it over the item you want to protect. Drape it lightly and fasten it with ropes or bungee cords through the grommets on the tarp if it’s a plant structure or greenhouse. Wrap furniture or equipment as closely as you can, making sure there are no gaps where cold air could get in. Make sure the insulation layer is consistently distributed within the cover. Good fitting prolongs the life of the tarpaulin as well as that of the insulation and raises its efficiency.
Ensuring Proper Ventilation When Needed
Some goods need air flow even in winter. Plants, for instance, can struggle from humidity accumulation if they are completely sealed without air movement. If you are growing plants or building a greenhouse with an insulated tarp, think about making a few small holes that you can cover up on really chilly nights. With this little change, the moisture and temperature levels are kept in check while still providing the required protection. Read More Articles
Storing the Cover After Winter
Gently take off the insulated tarpaulin cover when the cold season is over, wash it, and let it thoroughly dry. Tidy fold it and keep it somewhere dry. Store detachable insulation apart if you utilized it. Correct storage guarantees that you may reuse the same cover next winter, therefore saving money and effort.
Final Thoughts
For homeowners, gardeners, and anybody else wanting to protect outdoor goods from the bitter chill, building an insulated tarpaulin cover for winter protection is a sensible and economical fix. You can construct a cover that lasts for years by using a Heavy Weight Tarpaulin, excellent insulation material, and rigorous assembly. This basic project keeps your stuff safe, lessens winter damage, and lets you relax throughout cold months. A smart investment that will pay for itself in terms of durability, versatility, and reliable winter protection is a properly built insulated tarpaulin cover.


