
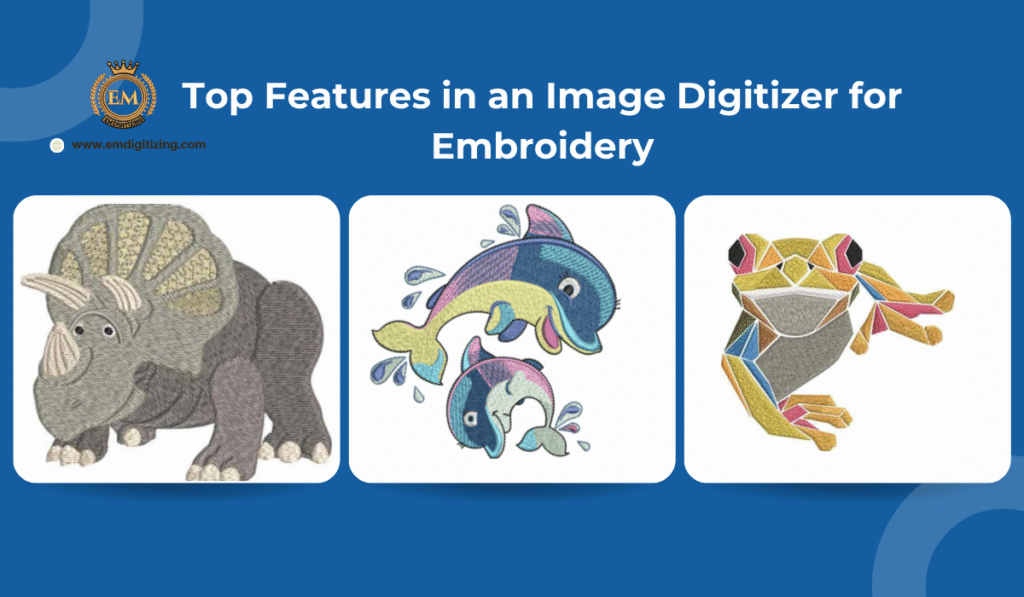

Choosing the right tool is essential when turning artwork into accurate stitch files for embroidery machines. As digital stitching continues to play a major role across apparel, promotional products, uniforms, and custom merchandise, the quality of the embroidery file determines the overall finish of the final output. This is where selecting the right image digitizer for embroidery becomes important. The software or expert responsible for converting artwork into stitches must deliver precision, control, and consistency so each design runs smoothly on fabric.
In 2025, embroidery requirements have become more demanding. Clients expect clean edges, balanced density, proper underlay, and flawless execution even on complex fabrics. That means choosing a tool that offers more than just basic conversion. Understanding the most essential features helps creators, businesses, and designers make better choices while ensuring that every design is optimized from the foundation.
This detailed guide explains the top features you should look for, the technical considerations that matter, and what separates average tools from the truly reliable ones in the industry. Whether you work on custom branding, fashion pieces, or bulk production, the right features help improve accuracy and maintain consistency throughout the stitching process.
Why Choosing the Right Tool Matters
Professional embroidery depends heavily on a well-prepared digital file. Even a minor mistake during conversion can lead to needle breaks, color misalignment, thread bunching, gap issues, or warped shapes. A reliable image digitizer for embroidery helps eliminate these problems before the design reaches the machine.
A strong digitizing tool ensures:
-
Precise stitch placement
-
Clean outlines
-
Balanced density
-
Consistent underlay
-
Smooth gradients
-
Proper compensation
-
Fabric-specific adjustments
When these factors are handled correctly, embroidery machines run smoothly and produce high-quality results. This is why evaluating key features before selecting the right solution is essential.
Top Features You Should Look For
1. Accurate Auto-Tracing and Artwork Conversion
A strong digitizer must accurately read shapes, outlines, and color changes from the image. Poor tracing can lead to broken edges, rough curves, and misplaced patterns. Look for a tool that captures:
-
Sharp corners
-
Smooth curves
-
Low-resolution images with clarity
-
Thin line details
Accurate tracing reduces the amount of manual correction and speeds up the production process. This is especially useful when working with logos or detailed artwork.
2. Comprehensive Stitch Type Library
To convert an image into a stitch file professionally, a digitizer needs access to multiple stitch types. These stitch types help add texture, depth, durability, and design clarity.
Essential stitch types include:
-
Satin stitch
-
Fill stitch
-
Running stitch
-
Bean stitch
-
Zigzag stitch
-
Gradient fill
A limited stitch library affects the overall quality of the artwork. A tool with a strong stitch library gives more creative and technical control.
3. Advanced Editing Tools
No image converts perfectly in one click. Strong editing controls are needed for manual adjustments. A good image digitizer for embroidery must allow precise manipulation such as:
-
Adjusting stitch direction
-
Editing underlay
-
Density control
-
Node editing
-
Outline adjustments
-
Path correction
-
Color layer editing
These tools help refine the artwork so the final stitch output looks polished and professional.
4. Fabric-Based Settings and Presets
Each fabric reacts differently to stitching. For example:
-
Cotton requires balanced density
-
Stretch fabric needs proper compensation
-
Caps need heavier underlay
-
Towels require thicker stitching
A reliable tool offers presets that adjust automatically based on the fabric type. These presets save time and dramatically improve stitch accuracy.
5. Strong Underlay Control
Underlay is the foundation of every design. It stabilizes stitches, prevents gaps, and supports the top layer. Look for tools that offer:
-
Edge underlay
-
Zigzag underlay
-
Tatami underlay
-
Center-walk underlay
Proper underlay makes designs more durable and prevents movement during stitching.
6. Density Management
Density determines how close stitches are placed. Too much density causes thread breaks, while too little results in gaps. A strong digitizer gives full control over:
-
Fill density
-
Satin density
-
Pull compensation
-
Column width adjustments
With these options, the design can be optimized for both quality and fabric compatibility.
7. Auto-Compensation Tools
During embroidery, stitches may shift slightly depending on the fabric. Compensation helps prevent distortion by adjusting the stitch path. Look for tools that support:
-
Pull compensation
-
Push compensation
-
Auto-adjust features
This ensures the final output matches the original artwork.
8. Color Management and Thread Libraries
A good tool should offer built-in thread chart libraries from multiple thread manufacturers. This helps match colors accurately during production. Even if no brand names are used, having a full range of thread color options is essential for:
-
Consistent branding
-
Smooth gradients
-
Accurate highlights and shadows
9. Preview and Simulation Tools
A preview window is extremely helpful because it allows users to check:
-
Stitch flow
-
Density distribution
-
Run path
-
Potential thread breaks
-
Jump stitches
Simulation reduces errors and ensures the design runs correctly before it reaches the machine.
10. File Format Compatibility
Embroidery machines rely on different file formats. The right image digitizer for embroidery must support major formats such as:
-
DST
-
PES
-
JEF
-
EXP
-
VP3
-
XXX
The more file formats supported, the easier it becomes to work with multiple machine types.
11. Custom Pathing Controls
Pathing determines the order in which stitches are placed. Poor pathing causes unnecessary jumps, longer run times, and thread trims. A high-quality digitizer gives full control over:
-
Object sequence
-
Color order
-
Jump minimization
-
Start and stop points
This ensures the design runs smoothly and efficiently.
12. Clean Curve and Outline Control
Logos often include curves, circles, or smooth patterns. If the digitizing tool lacks precision, curves become jagged during stitching. A reliable software must include:
-
Bézier curve editing
-
Smooth outline control
-
Node reduction options
These features help maintain clean, professional shapes.
13. Support for Small Text and Thin Lines
Text under 5 mm can be challenging. Small details need careful handling. Look for tools that include:
-
Small character presets
-
Auto-adjusted density for tiny areas
-
Thin column control
This makes small lettering readable and stable.
14. Gradient and Texture Support
Modern embroidery includes gradient effects and textured fills. Tools with advanced texture libraries help make designs richer and more dimensional. These textures help simulate shading and shadow-like effects.
15. Easy User Interface for Smooth Workflow
The right digitizer should be easy to navigate. A good interface includes:
-
Clear tool menus
-
Organized workspace
-
Smooth zoom and pan controls
-
Undo/redo functions
-
Clean layer management
A simple interface improves productivity and reduces the time required for each project.
16. Strong File Saving and Backup Options
A reliable tool must allow:
-
Version backups
-
Autosave
-
Project folder organization
This prevents data loss and simplifies long-term file management.
How These Features Improve Embroidery Quality
Each of the features listed above supports the goal of achieving precision, durability, and clarity in every stitch file. Proper control results in smoother outlines, balanced density, stable underlay layers, and fewer mistakes during stitching. A good digitizing tool enhances workflow while reducing troubleshooting time.
The correct image digitizer for embroidery improves:
-
Stitch accuracy
-
Fabric compatibility
-
Color balance
-
Durability
-
Professional aesthetics
Combining technical skill with the right tool produces consistent, high-quality embroidery.
Conclusion
Selecting the right image digitizer for embroidery is essential for creating accurate, durable, and visually appealing stitch files. The features you choose will determine how efficiently you work and how professional your final output looks. With strong tools, precise controls, and fabric-focused settings, designers and businesses can produce embroidery that meets modern demands with confidence. Emdigitizing
FAQs
Q1: Why is stitch type variety important during digitizing?
Different stitch types add flexibility, depth, and stability to various parts of a design. They help shape texture and support fabric movement.
Q2: Can small text be digitized successfully?
Yes, but only if the digitizer includes small text presets and controls that adjust density, column width, and underlay properly.
Q3: Why does fabric type matter in digitizing settings?
Each fabric reacts differently to stitching. Adjusting density, compensation, and underlay ensures stable and clean results.
Q4: What makes preview simulation useful?
Simulation helps detect flaws before production, saving time, material, and troubleshooting.
Q5: Why is manual editing still required even with auto-tools?
Auto-tools help speed up the process, but manual adjustments ensure precision and customization based on artwork complexity.


